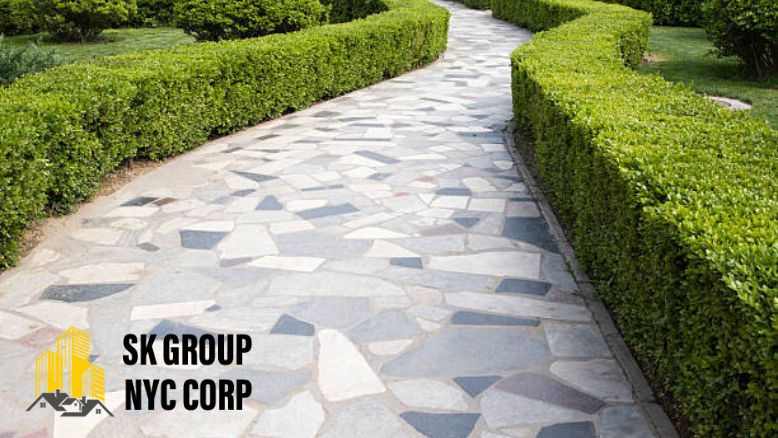
A well-constructed walkway transforms the way you experience your property. It serves as an inviting path to your front door, guides visitors through a garden, and protects your lawn from heavy foot traffic. Beyond daily utility, a walkway ties your entire outdoor environment together, elevating curb appeal and adding measurable value to your home.
Planning a pathway project requires thoughtful decisions about materials, site preparation, and budgeting. This guide covers everything you need to know about residential walkway installation, from selecting the right materials and understanding the installation process to estimating costs and preventing common construction mistakes.
What Is Walkway Installation?
Walkway installation is the process of planning, excavating, preparing a foundation, and laying a durable ground surface for pedestrian use. It involves engineering a stable subbase, managing proper drainage slopes, and placing surface materials like pavers, poured concrete, or natural stone.
While a pathway looks simple on the surface, its longevity relies on structural work below ground. Proper landscape walkway installation ensures the surface remains level, handles freeze-thaw cycles without shifting, and channels rainwater safely away from home foundations.
Key Benefits of Installing a Professional Walkway
Investing in an outdoor walkway installation delivers immediate practical and aesthetic benefits for any property:
- Elevated Curb Appeal: A custom pathway frames your landscaping and highlights architectural features, creating a positive first impression for guests and potential buyers.
- Improved Safety and Accessibility: Uneven grass, exposed roots, and slick mud create tripping hazards. A smooth, well-lit walkway ensures safe passage in all weather conditions.
- Lawn and Garden Protection: Defined footpaths naturally direct foot traffic, preventing soil compaction and protecting delicate turf and garden beds.
- Enhanced Drainage Control: Proper grading along a path helps divert surface runoff away from structures and low-lying garden zones.
- High Return on Investment (ROI): Hardscape improvements consistently offer high returns by expanding usable living areas and enhancing overall landscape architecture.
Popular Walkway Materials and Their Pros & Cons
Choosing the best walkway materials depends on your budget, aesthetic goals, and regional climate.
1. Concrete Pavers
Concrete pavers are modular, interlocking units manufactured in diverse shapes, textures, and colors. They provide flexibility in shifting soils and are easy to repair individually.
- Pros: Highly durable, versatile design options, permeable choices available, individual units can be replaced without tearing up the entire path.
- Cons: Requires precise base preparation; joints need occasional re-sanding to prevent weed growth.
2. Poured Concrete
Poured concrete remains one of the most popular choices for modern and traditional homes. It can be finished with broomed textures, exposed aggregate, or decorative stamped patterns.
- Pros: Cost-effective for long straight runs, low maintenance, smooth surface for strollers and wheelchairs.
- Cons: Prone to cracking over time in cold climates; repairs are visible and challenging to blend seamlessly.
3. Natural Stone (Flagstone, Bluestone, Granite)
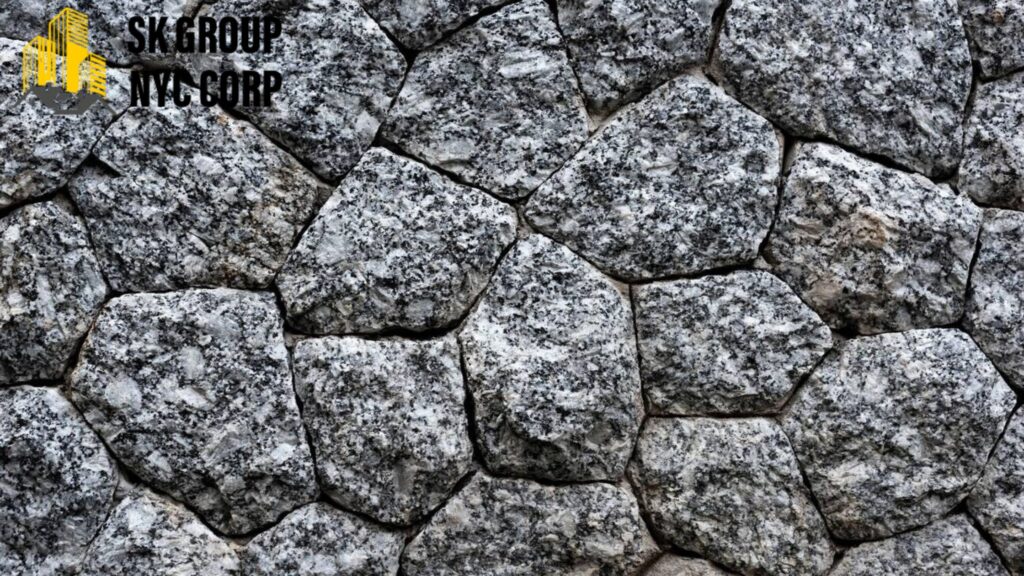
Natural stone delivers unmatched organic beauty and timeless elegance, making it a staple for premium landscape architecture.
- Pros: Exceptional durability, unique natural textures, increases property value significantly.
- Cons: Higher material and labor costs; irregular stone shapes require skilled masonry for tight, even joints.
4. Crushed Stone and Gravel
Gravel pathways offer a relaxed, rustic appearance that blends seamlessly into garden settings and woodland paths.
- Pros: Budget-friendly, fully permeable, straightforward to install on irregular layouts.
- Cons: Requires edging to contain stones; loose material can scatter into lawns and is difficult to clear of snow.
Walkway Material Comparison
| Material | Average Cost Range (per sq. ft.) | Key Benefits | Best For |
| Gravel / Crushed Stone | $4 – $10 | Budget-friendly, excellent drainage | Rustic paths, garden trails, utility zones |
| Poured Concrete | $8 – $16 | Seamless surface, clean aesthetic | Modern entries, long approaches, ADA paths |
| Concrete Pavers | $12 – $25 | Crack-resistant, modular repairs | Front yard walkways, patios, classic homes |
| Natural Stone | $18 – $35+ | High-end beauty, extreme longevity | Architectural entries, formal gardens |
Step-by-Step Walkway Installation Process
Executing a long-lasting walkway requires strict adherence to proper construction stages. Here is how professional contractors approach the job:
[Site Layout & Utility Clearances]
               │
               ▼
[Excavation & Subgrade Compaction]
               │
               ▼
[Geotextile Fabric & Base Layer]
               │
               ▼
[Edge Restraints & Bedding Sand]
               │
               ▼
[Surface Laying & Joint Stabilization]
Step 1: Planning, Layout, and Utility Clearance
First, determine the walkway route, width, and slope. Standard paths should be at least 36 to 48 inches wide to allow two people to walk comfortably side by side. Mark the perimeter with marking paint and stakes. Always contact local utility services (call 811) before digging to map underground pipes and electrical lines.
Step 2: Excavation and Slope Setting
Excavate the soil to the appropriate depth (typically 6 to 8 inches for pavers and stone; 4 to 6 inches for concrete). Ensure a minimum slope of 1/4 inch per foot away from building foundations to guarantee positive drainage.
Step 3: Subbase Installation and Compaction
A durable pathway depends on its base. Spread crushed stone aggregate (such as road base or quarry process stone) in 2-inch lifts. Compact each layer thoroughly using a motorized plate compactor until reaching a dense, 4- to 6-inch foundation. Laying geotextile fabric beneath the gravel base prevents native soil from mixing with the aggregate.
Step 4: Edge Restraints and Bedding Layer
Install rigid edge restraints along the perimeter using heavy steel spikes to keep materials from spreading outward over time. Next, screed a uniform 1-inch layer of coarse concrete sand over the compacted base.
Step 5: Surface Material Placement
Lay pavers or natural stone tightly according to your chosen pattern (such as herringbone, running bond, or ashlar). Keep consistent joint widths throughout the layout. For poured concrete walkway installation, build sturdy wooden forms, place reinforcing mesh, and pour the concrete mix evenly.
Step 6: Joint Sanding and Final Compaction
For paver and stone pathways, sweep polymeric sand into the joints. Run a plate compactor with a protective pad over the surface to seat the stones firmly into the bedding layer. Mist the surface with water according to manufacturer guidelines to activate the polymeric binders, locking the joints against weeds and erosion.
Walkway Installation Cost: Factors That Affect Pricing
The national average walkway installation cost ranges between $1,800 and $5,500, with most homeowners spending approximately $12 to $28 per square foot for professional installation.
Several key variables influence your final quote:
- Material Selection: Basic pea gravel and standard gray concrete represent the lower end of the pricing spectrum, while imported travertine, bluestone, and intricate paver patterns sit at the high end.
- Site Preparation and Access: Level, easily accessible front yards cost less to prepare than sloped, rocky backyards requiring manual wheelbarrow transport.
- Demolition and Removal: Tearing out old concrete or asphalt adds labor, hauling, and disposal fees.
- Path Geometry: Straight lines are easier to frame and cut. Curves, steps, and intricate borders require custom masonry cutting, increasing labor hours.
- Integrated Features: Incorporating low-voltage landscape lighting, retaining walls, or adjacent patio installation areas increases overall project scope and expense.
DIY vs. Professional Walkway Installation
Deciding between a DIY project and hiring professional walkway contractors comes down to project complexity, physical stamina, and equipment access.
       ┌──────────────────────────────────────┐
       │   Which Route Fits Your Project?     │
       └──────────────────────────────────────┘
                          │
          Is the path straight, flat, and
             using gravel or dry-laid pavers?
                          │
             ┌────────────┴────────────┐
            YES                        NO
             │                         │
             ▼                         ▼
   ┌───────────────────┐     ┌───────────────────┐
   │    DIY Project    │     │ Hire Professional │
   │  Lower initial    │     │ Ensures structural│
   │  cost; requires   │     │ grading, heavy    │
   │  physical tools   │     │ compaction, and   │
   │  and heavy labor. │     │ long warranties.  │
   └───────────────────┘     └───────────────────┘
A small, straight gravel or stepping-stone path is a manageable weekend DIY task. However, standard paver walkway installation or stone walkway installation requires moving tons of soil, hauling heavy gravel base, and operating plate compactors. Mistakes in grading or base compaction lead to pooling water, sunken pavers, and trip hazards within a single season.
Established general contracting and masonry firms, such as SK Group NYC Corp, utilize heavy equipment, commercial-grade compactors, and laser-guided grading tools to complete large-scale residential projects efficiently and ensure long-term structural integrity.
How to Choose the Right Walkway Design
Your pathway should feel like an organic extension of your home’s architecture and the surrounding landscape design.
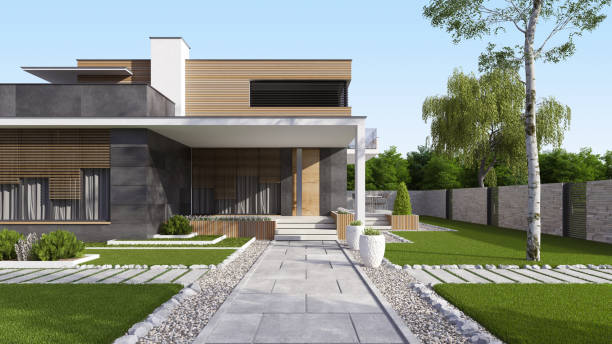
- Front Yard Walkway Ideas: Front paths should be wide, direct, and welcoming. A gentle curve can soften sharp building lines, but the path should clearly guide visitors toward the entryway. Match the stone or paver tones to your home’s exterior brick, siding, or trim accents.
- Backyard Walkway Ideas: Backyard paths can be more exploratory and meandering. Winding stone walkways encourage leisurely strolls between distinct zones, connecting outdoor living spaces, outdoor kitchens, and garden beds.
- Comprehensive Hardscape Design: For cohesive outdoor aesthetics, plan your walkway in tandem with complementary projects like driveway installation and comprehensive landscaping services to ensure matching textures, borders, and colors throughout the property.
Walkway Maintenance Tips for Long-Term Durability
Consistent care preserves the structural integrity and aesthetic appeal of your pathway:
- Seasonal Sweeping: Keep the surface clear of leaves, wet debris, and dirt to prevent organic staining.
- Annual Power Washing: Use a moderate-pressure washer (under 2,000 PSI) with a wide-angle tip to remove built-up grime without washing out joint sand.
- Replenish Polymeric Sand: Inspect paver joints every 2 to 3 years. Reapply polymeric sand where gaps appear to prevent weed seeds from taking root.
- Winter Ice Care: Avoid using harsh rock salt (sodium chloride) on concrete and pavers, as it causes surface flaking (spalling). Use calcium chloride or coarse sand for traction instead.
- Surface Sealing: Apply a penetrating, breathable sealer every 3 to 5 years to protect stone and pavers from UV fading, oil stains, and moisture penetration.
Common Walkway Installation Mistakes to Avoid
Subtle installation shortcuts can cause severe structural failures down the road. Avoid these frequent mistakes:
- Inadequate Excavation Depth: Skimping on the depth of your crushed stone foundation is the leading cause of settling, rutting, and shifting pavers.
- Ignoring Drainage Slope: Failing to grade the path at a 1/4-inch-per-foot pitch allows rainwater to pool on the walkway surface and seep toward building foundations.
- Skipping Edge Restraints: Without rigid edge restraints, the outer perimeter of a paver path will drift into the lawn under foot traffic, opening large joint gaps.
- Using Stone Dust Instead of Coarse Sand for Bedding: Stone dust traps moisture and degrades over time; always use washed concrete sand for your bedding layer.
- Rushing Base Compaction: Raking gravel flat without mechanical plate compaction leads to uneven settlement after the first heavy rain.
Frequently Asked Questions (FAQ)
How thick should a walkway base be?
A residential pedestrian walkway requires a 4- to 6-inch compacted aggregate base (dense-graded crushed stone) topped with a uniform 1-inch layer of bedding sand. In wet regions or areas with heavy clay soils, increasing the base to 6 to 8 inches provides extra stability against frost heave.
How long does walkway installation take?
A standard residential project (approximately 100 to 200 square feet) typically takes 2 to 4 days for a professional crew. This includes site excavation, base compaction, surface laying, edge restraint installation, and joint finishing.
What is the cheapest walkway to install?
Gravel, crushed stone, and simple mulch pathways represent the most affordable installation options, averaging $4 to $10 per square foot. Poured concrete is the most cost-effective permanent, solid-surface material.
Do I need a permit for a residential walkway?
In most municipalities, simple, ground-level walkways do not require building permits. However, permits may be necessary if your path connects to a public sidewalk, involves structural retaining walls over a certain height, crosses utility easements, or exceeds local impervious surface limits.
Final Thoughts
A well-executed walkway installation combines thoughtful aesthetics with solid ground engineering. Choosing suitable materials for your local climate and investing in a compacted, well-drained subbase ensures your pathway remains level, safe, and visually appealing for decades.
Whether you are updating front entry steps or laying a meandering garden trail, planning every step carefully is the key to lasting value. For complex grades, extensive stone cutting, or comprehensive hardscape transformations, partnering with experienced landscape masonry specialists like SK Group NYC Corp ensures your investment is built to last.
Have Questions? Call Us Now!
+1 (718) 507-7000
We’re here to help quick answers, friendly service, anytime you need!
Contact SK Group NYC
🌐 Website: www.skgroupnyccorp.com
📍 Serving: Manhattan, Brooklyn, Queens, The Bronx, and Staten Island
📍 Address: 87-88 172nd St, Jamaica, New York, NY, United States, New York