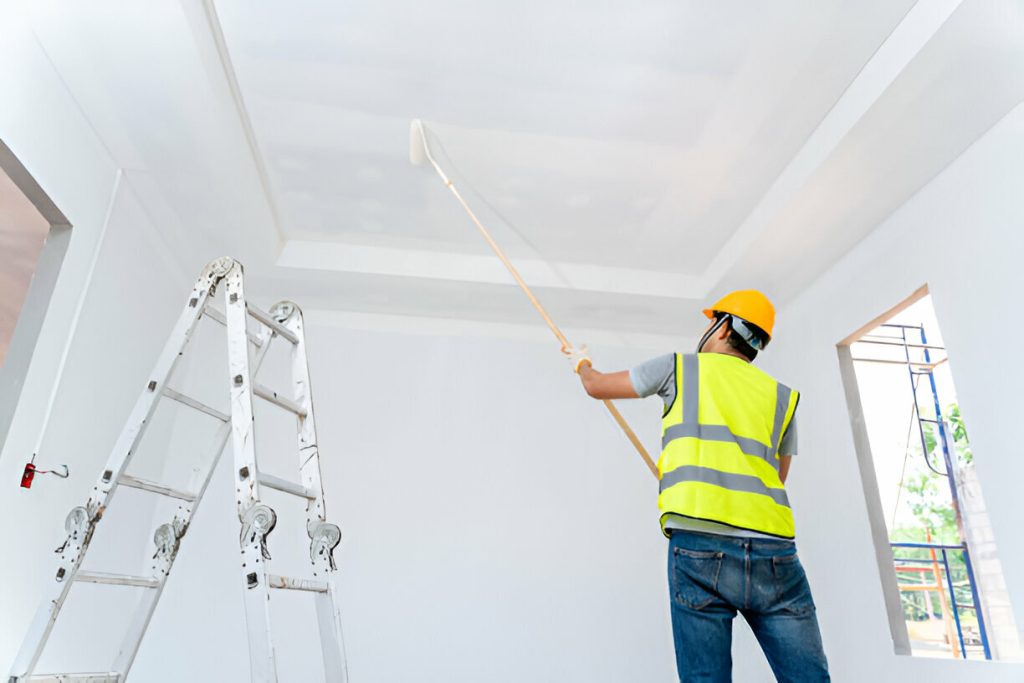
When it comes to renovating a space, painting is one of the most transformative and cost-effective ways to give your home a fresh, new look. However, achieving a seamless finish requires more than just slapping a coat of paint on the walls. It involves careful planning, proper preparation, and attention to detail. Here are some essential tips to help you ensure a flawless paint job during your renovation.
1. Choose the Right Paint and Tools
The first step to a seamless finish is selecting the appropriate paint and tools for the job. Consider the type of room and the surface you’ll be painting. For instance, high-traffic areas like kitchens and hallways benefit from durable, washable paints, while a matte finish can hide imperfections in less-used spaces.
Essential tools include:
- High-quality brushes and rollers
- Painter’s tape
- Drop cloths
- Paint trays
- Sandpaper and spackling paste for surface prep
2. Prepare the Surface
Preparation is key to a smooth finish. Start by cleaning the walls to remove any dust, dirt, or grease. Next, fill in any holes or cracks with spackling paste and sand the surface until it’s smooth. Don’t forget to prime the walls, especially if you’re painting over a darker color or a surface prone to staining.
3. Protect Your Space
Use painter’s tape to cover baseboards, window frames, and any other areas you don’t want to be painted. Lay down drop cloths to protect your floors and furniture. Taking these precautions can save you a lot of cleanup time and ensure crisp, clean edges.
4. Apply the Paint Correctly
When it comes to applying paint, technique matters. Start by cutting in around the edges with a brush. Then, use a roller to fill in the larger areas. Work in small sections, maintaining a wet edge to avoid lap marks. Apply paint in thin, even coats, allowing adequate drying time between each coat. Usually, two coats are sufficient for a seamless finish.
5. Mind the Conditions
Temperature and humidity can significantly impact your paint job. Ideally, paint in moderate temperatures and low humidity to ensure the paint dries evenly. Avoid painting on very hot or humid days, as the paint may not adhere properly or could dry too quickly, leading to an uneven finish.
6. Finish with Detail Work
Once the main painting is done, remove the painter’s tape carefully before the paint fully dries to avoid peeling. Touch up any missed spots or imperfections with a small brush. Inspect your work in different lighting conditions to ensure no areas have been overlooked.
7. Proper Cleanup
Cleaning your tools and workspace promptly after finishing will extend the life of your brushes and rollers and make future projects easier. Dispose of paint cans and other materials according to local regulations.
Final Thoughts
Painting during a renovation can be a rewarding DIY project that dramatically improves your home’s appearance. By choosing the right materials, preparing your surfaces diligently, and applying the paint with care, you can achieve a seamless, professional-looking finish. Take your time, follow these steps, and enjoy the fresh, new look of your beautifully painted space.
Transform your space with our professional painting services! at SK GROUP NYC CORP we offer top-quality interior and exterior painting solutions tailored to your unique style. Our experienced team uses premium materials to ensure a flawless finish that lasts. Whether you’re refreshing a single room or renovating your entire property, we deliver exceptional results on time and within budget. Trust us to bring your vision to life with precision and care. Contact us today for a free consultation and let us make your painting project a masterpiece!

